
27 Striking Minimalist Eye Tattoo Ideas to Boost Style
Minimalist eye tattoos offer a subtle way to express personal style and meaning through clean lines and simple designs. These tattoos draw from trends in body art, blending spirituality and modern aesthetics for a timeless look. If you’re exploring ideas for your next ink, this list dives into 27 creative options that highlight versatility and ease. From everyday inspiration to personalized touches, these designs make a statement without overwhelming your look.
Simple Single Eye Outline
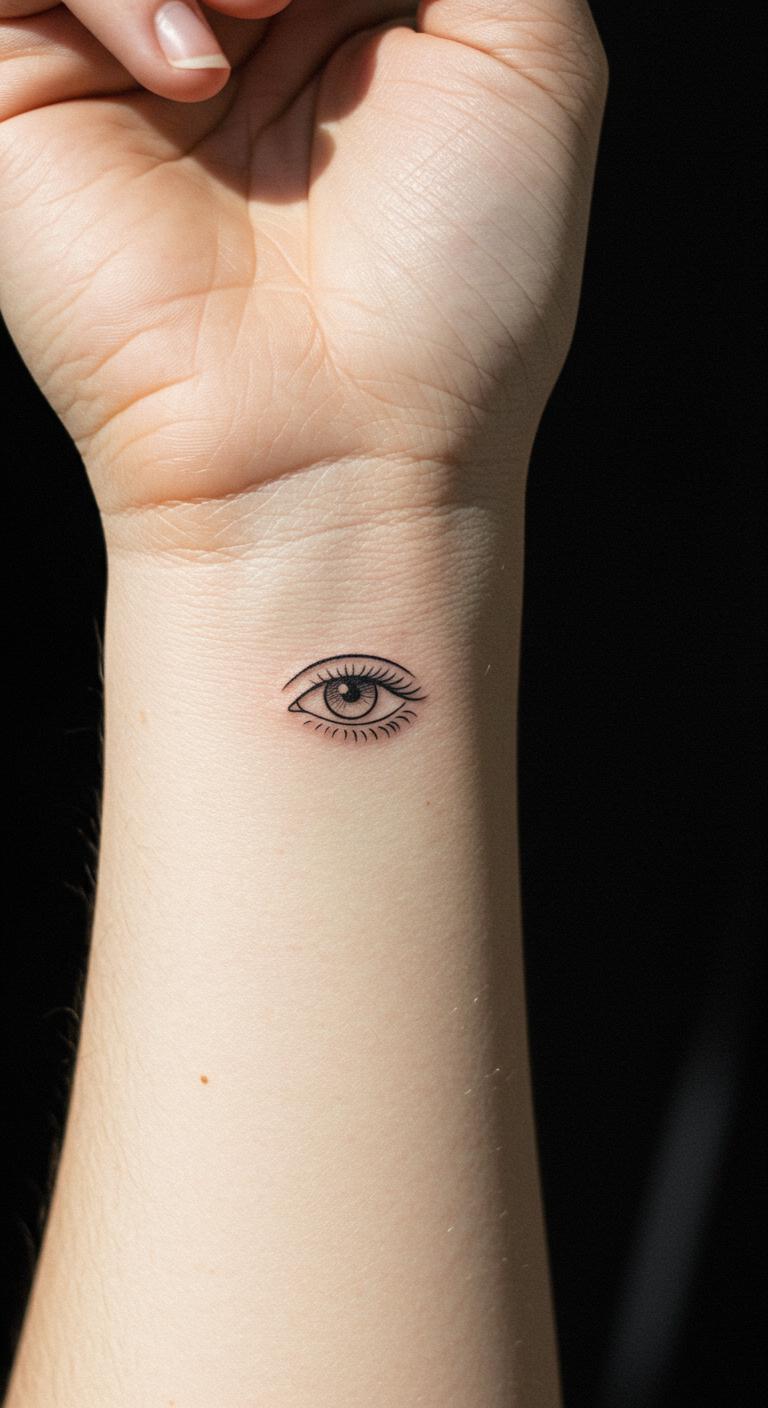
A single eye outline keeps things straightforward. Start with a basic sketch on paper to visualize it. Think about placing it on your wrist for easy visibility. This design uses just one color, like black ink, to keep costs low. Try drawing your own version at home with a fine-tip pen on your skin as a temporary test. Budget tip: Look for local tattoo shops offering flash designs under $50. Break it down: choose a small size to reduce pain and healing time. Add a personal twist, like slight curve adjustments. Once done, care involves gentle washing with mild soap. This idea suits beginners wanting something meaningful yet understated.
Eye with Subtle Stars
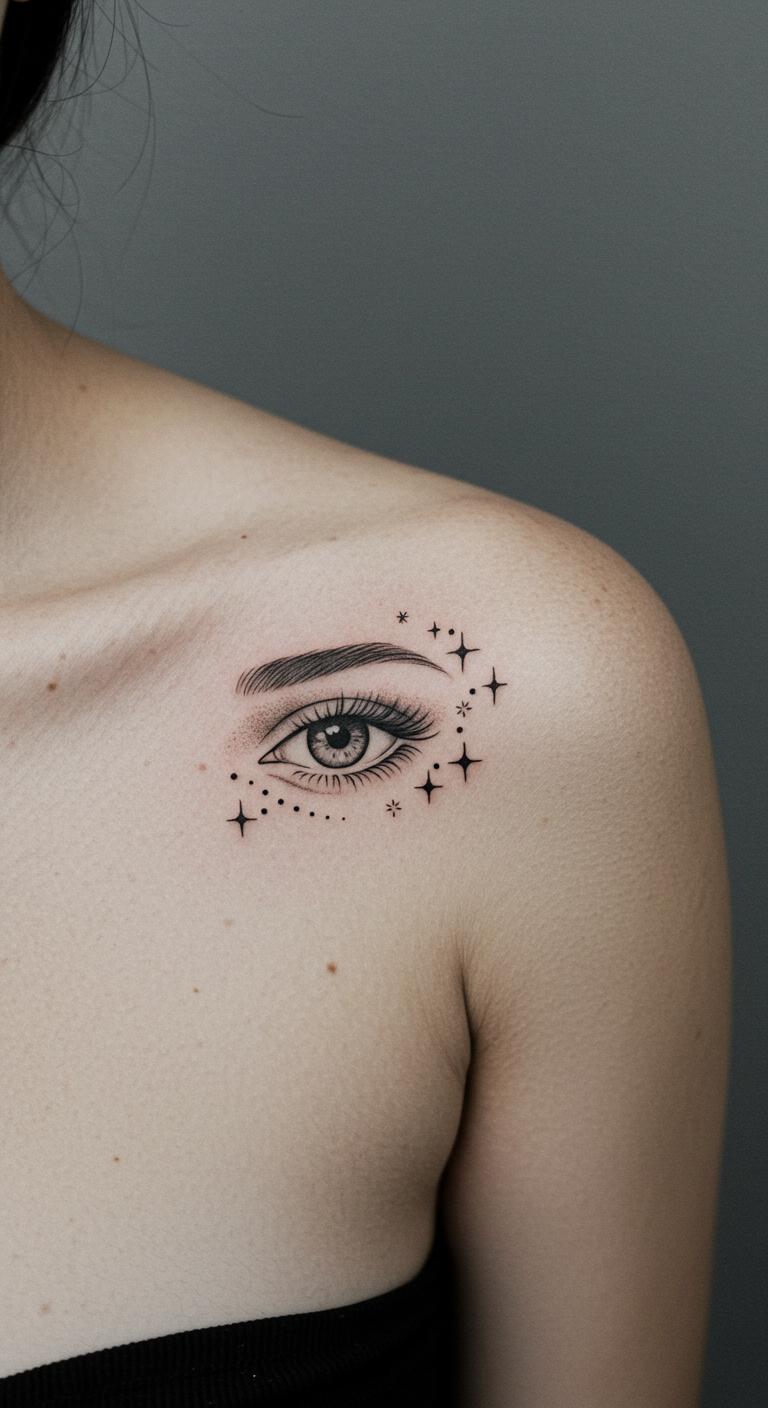
Add stars around an eye for a dreamy vibe. Sketch this on paper first to tweak the layout. Place it on your shoulder to hide or show as you like. Use basic black ink for affordability. At home, use a temporary tattoo kit to try the design. Budget tip: Find artists who do walk-ins for under $100. Keep sentences short: draw stars as simple dots. Healing means keeping it moisturized with lotion you already have. This combines nature and personal stories easily. Experiment with star count for uniqueness. It’s a quick session choice.
Abstract Eye Swirls
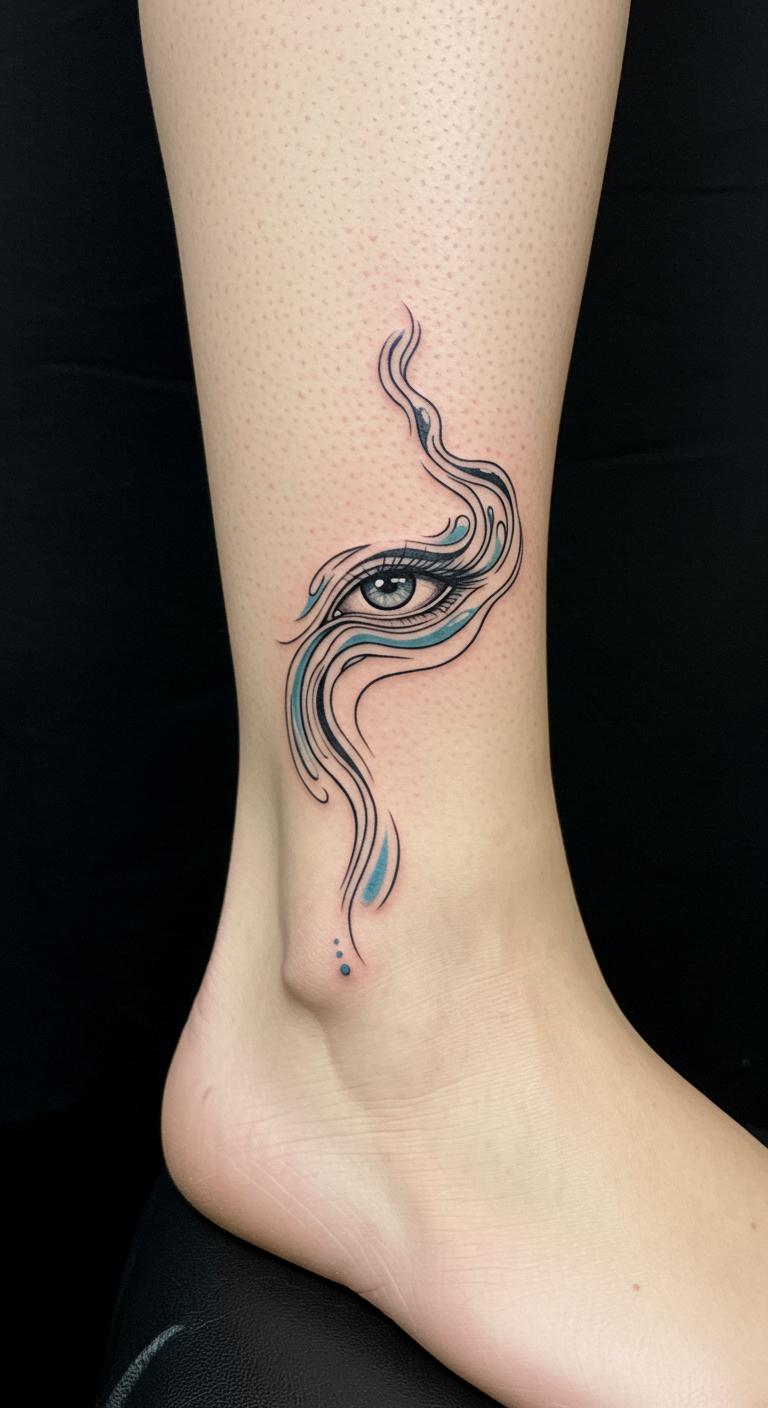
Swirls around an eye create an abstract feel. Draw a rough version at home with a marker. Position it on your ankle for a discreet spot. Stick to one ink color to save money. Test with washable ink on your skin first. Budget tip: Check online for affordable artists charging by the hour. Break it into steps: start with the eye, then add swirls. Care is simple, like avoiding sun exposure initially. This design lets you tell a story through flow. Adjust swirls based on your mood.
Geometric Eye Triangle
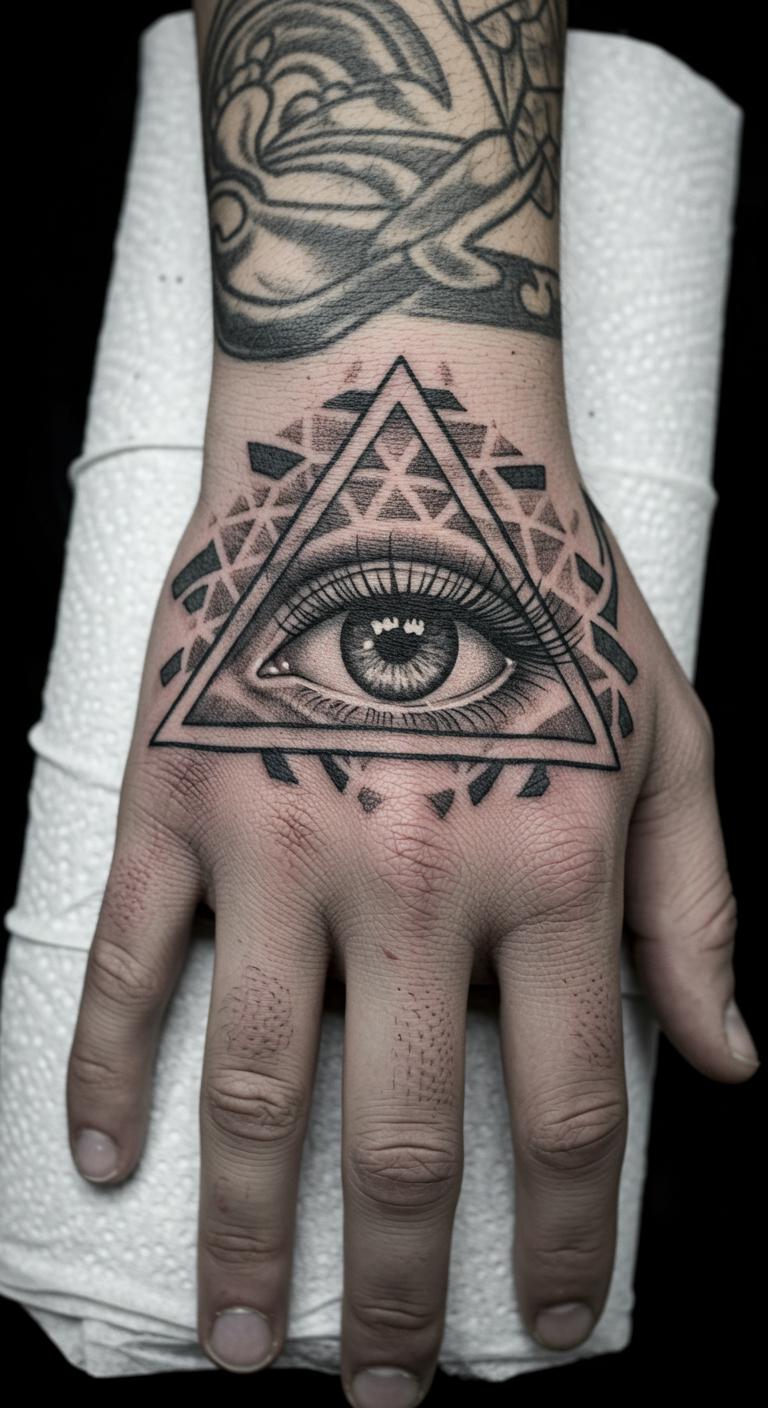
Put an eye inside a triangle for a geometric twist. Sketch ideas on paper to plan. Try the back of your hand for visibility. Use plain black lines to keep it cheap. Practice with a henna kit at home. Budget tip: Go for studios with package deals under $80. Short steps: outline the triangle first. Healing involves basic bandage care. This adds a modern edge to tradition. Make it your own by varying triangle size.
Minimalist Evil Eye
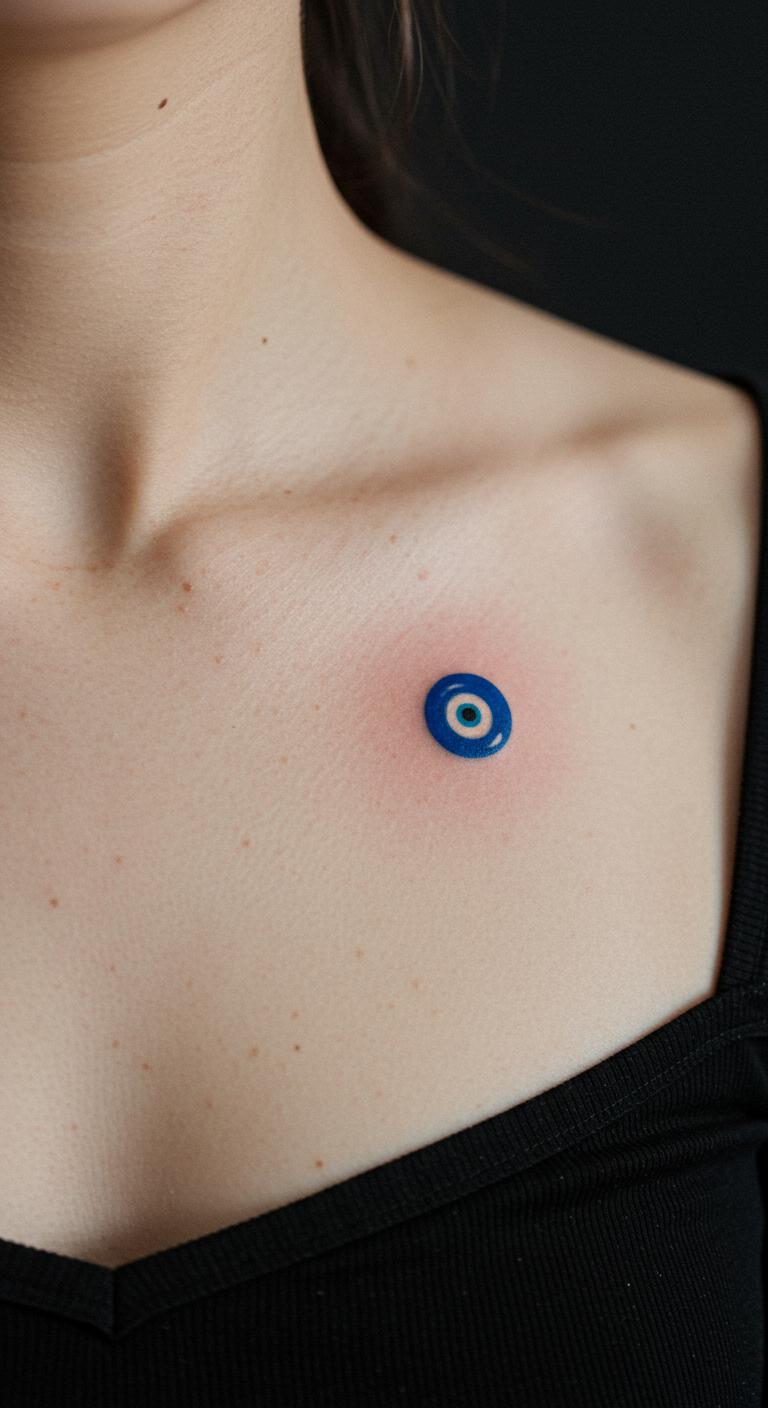
An evil eye design offers protection vibes. Draw it simply on paper first. Place on your collarbone for elegance. Opt for blue and black inks to stay budget-friendly. Use a temporary stamp to test. Budget tip: Look for sales at local shops for $60 or less. Break it down: keep the eye as a dot. Post-tattoo, use affordable aloe vera for healing. This brings cultural meaning affordably. Customize with slight variations.
Eye on the Wrist Pulse
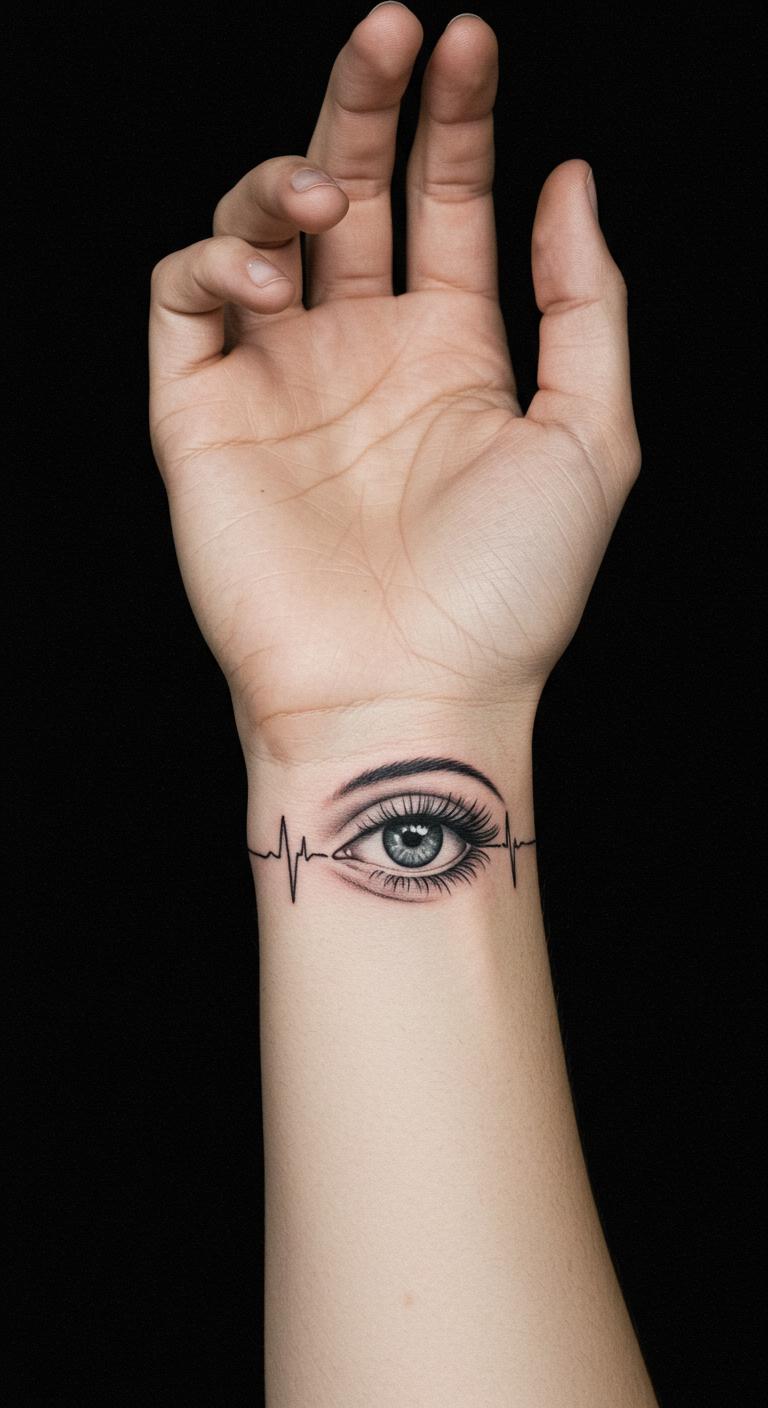
Place an eye on your wrist pulse for a personal touch. Sketch it out with a pencil at home. This spot makes it a daily reminder. Go with basic black for low cost. Try a fake tattoo sticker first. Budget tip: Find beginner artists offering discounts around $40. Simple actions: trace your pulse lightly. Healing needs just soap and water. This design feels intimate and easy. Adjust for your wrist shape.
Behind-the-Ear Eye
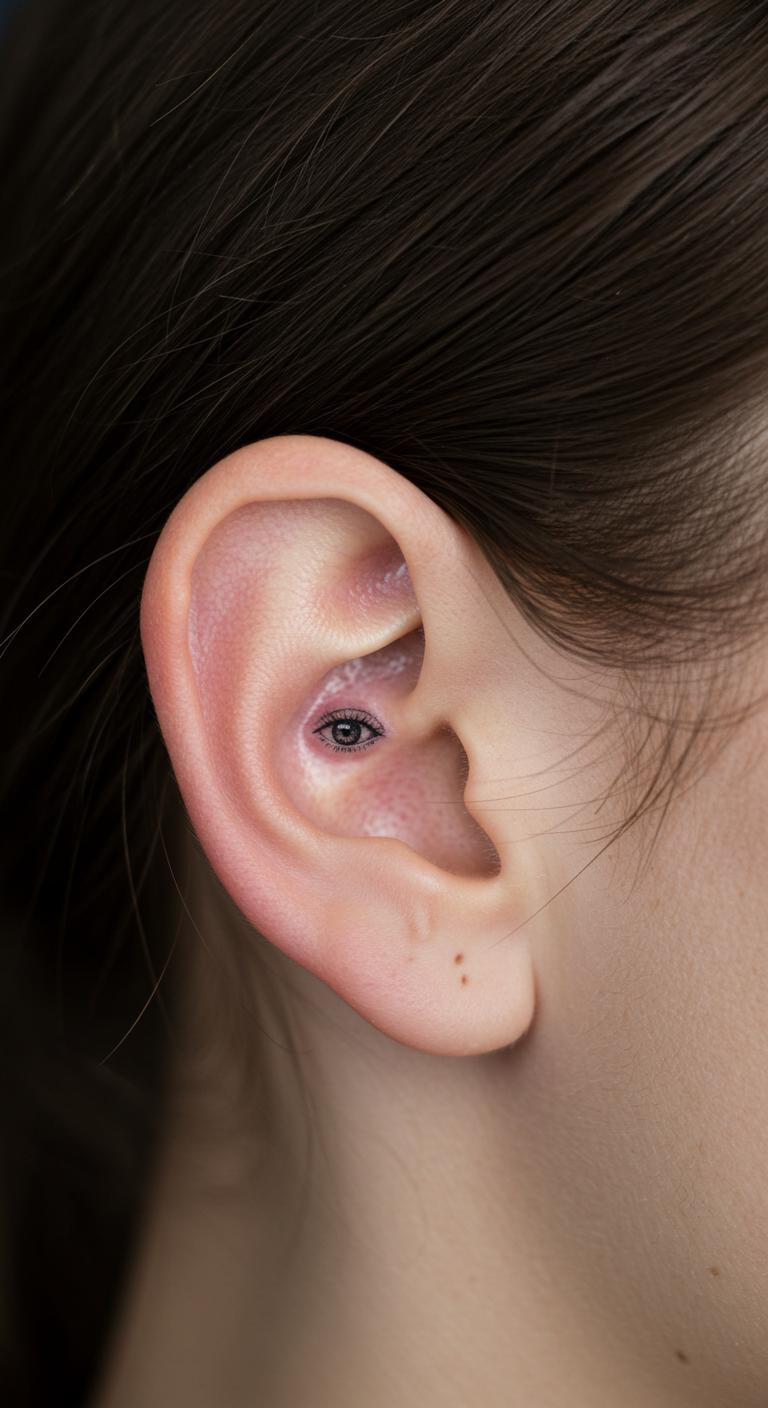
Go behind the ear for a hidden eye tattoo. Draw a mini version on paper. It’s perfect for subtle style. Use one color to keep expenses down. Test with ear-friendly temporary ink. Budget tip: Check for flash sales at $30. Short process: keep it small. Care means covering during sleep. This adds mystery without fuss. Personalize with your ear’s curve.
Finger Line Eye
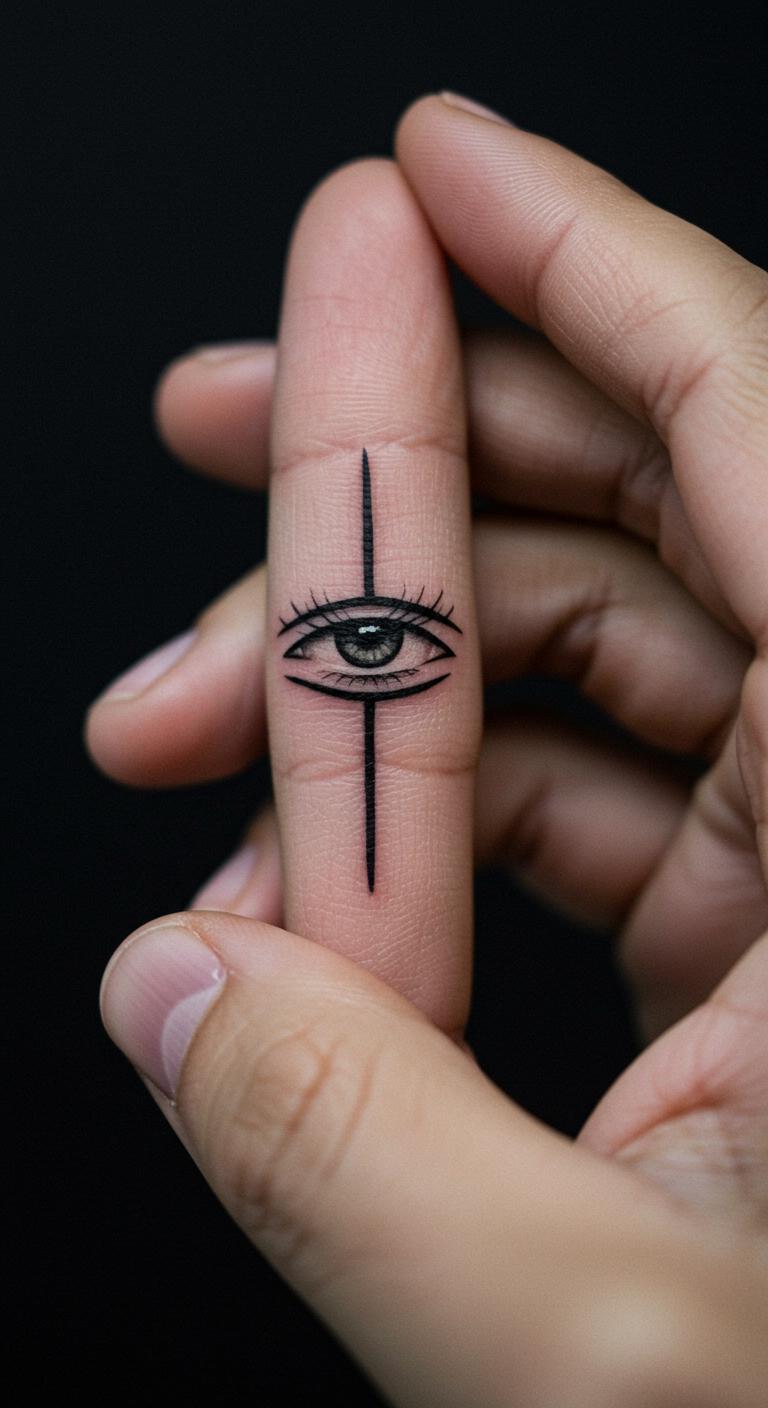
A line eye on your finger is bold yet minimal. Sketch on your hand first. Place it where you gesture often. Stick to black ink for affordability. Use a ring as a placeholder. Budget tip: Opt for finger-specific artists at $50. Break it: draw a straight line base. Healing involves keeping hands clean. This makes a statement easily. Vary the line thickness.
Ankle Wave Eye

Add waves to an eye on your ankle for flow. Plan with a home drawing. This spot is easy to cover. Choose simple inks to save. Try with water-based markers. Budget tip: Look for group session deals under $70. Steps: add waves around the eye. Basic care with petroleum jelly. This evokes ocean vibes affordably. Make waves your own design.
Sun Ray Eye
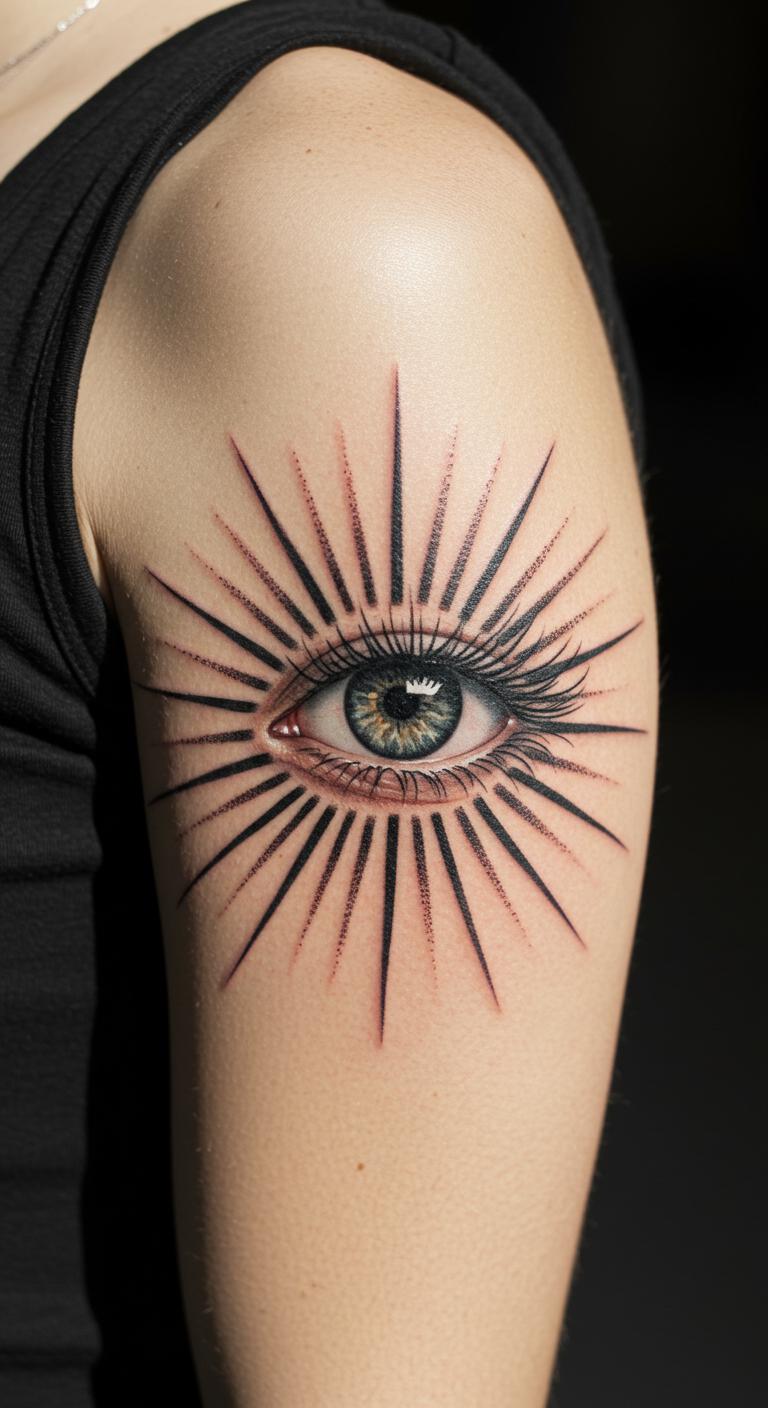
Surround an eye with sun rays for energy. Sketch rays outward on paper. Put it on your upper arm for sun exposure. Use black only for cost. Test with sun-safe markers. Budget tip: Find day-rate artists for $90. Short: draw rays from the eye. Healing with sunscreen application. This brings light to your style. Adjust ray length personally.
Moon Crescent Eye
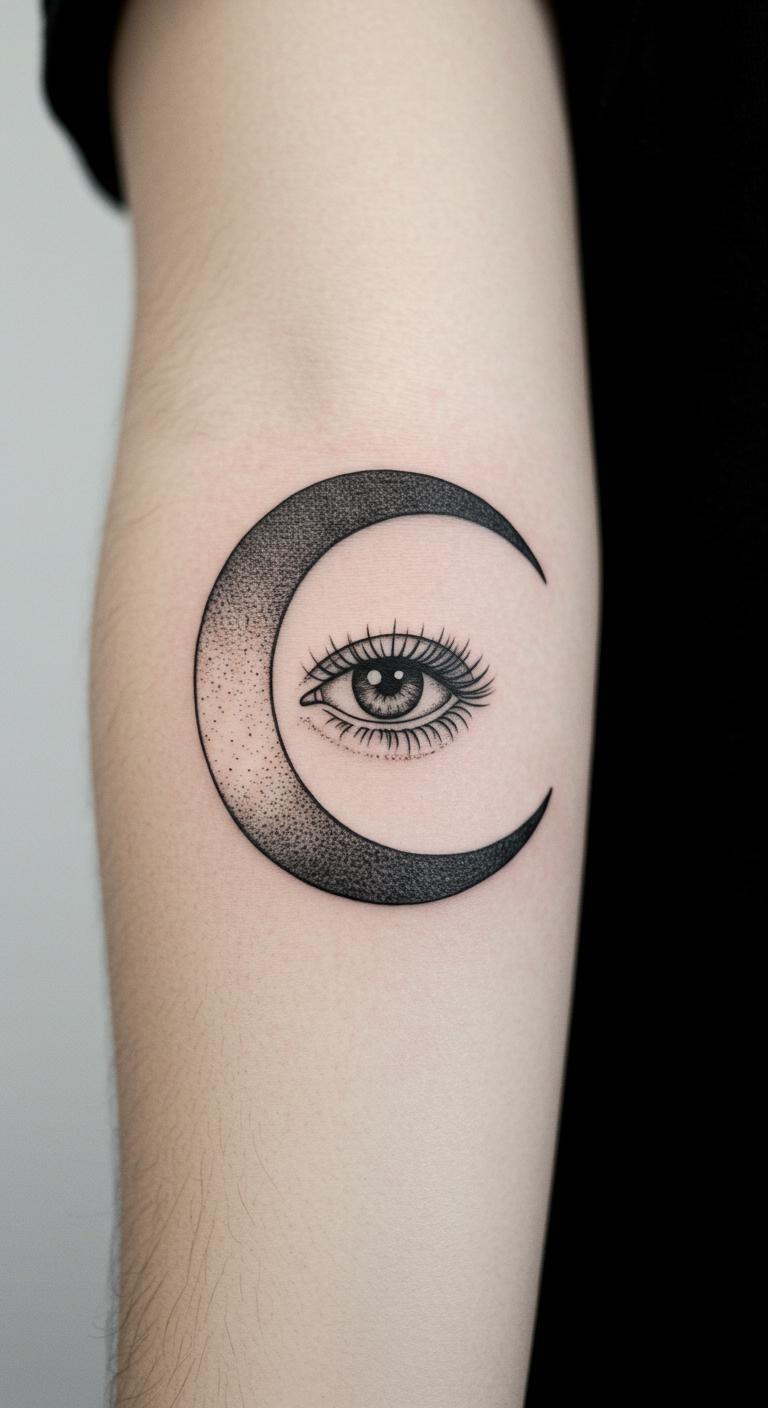
Nestle an eye in a moon crescent for night vibes. Draw on paper to fit. Place on your forearm for visibility. Keep it one-color cheap. Use moon-shaped stencils at home. Budget tip: Search for night-themed specials at $60. Break it: outline the crescent first. Care with nightly moisturizing. This adds lunar meaning simply. Customize the moon phase.
Floral Petal Eye

Incorporate petals around an eye for nature. Sketch petals lightly at home. Try your shoulder blade for art. Go basic ink for savings. Practice with flower stamps. Budget tip: Look for nature-inspired packages under $80. Steps: add a few petals. Healing with natural oils. This blends beauty easily. Vary petal numbers.
Heart-Linked Eye
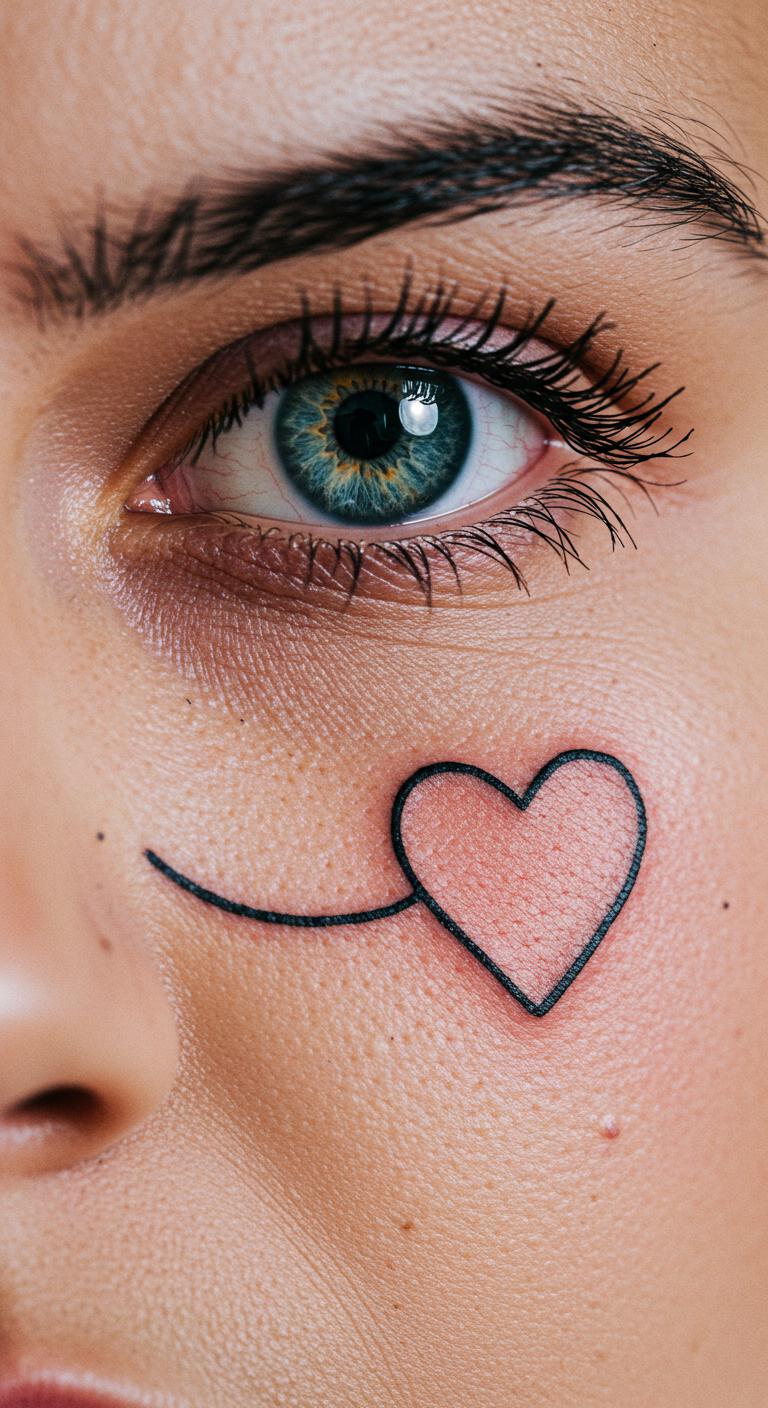
Link an eye to a heart for emotion. Draw the link on paper. Place on your chest for sentiment. Use affordable black ink. Test with heart stickers. Budget tip: Find couple deals at $70. Short: connect with a line. Care with chest-friendly products. This expresses love simply. Personalize the heart shape.
Third Eye Dot
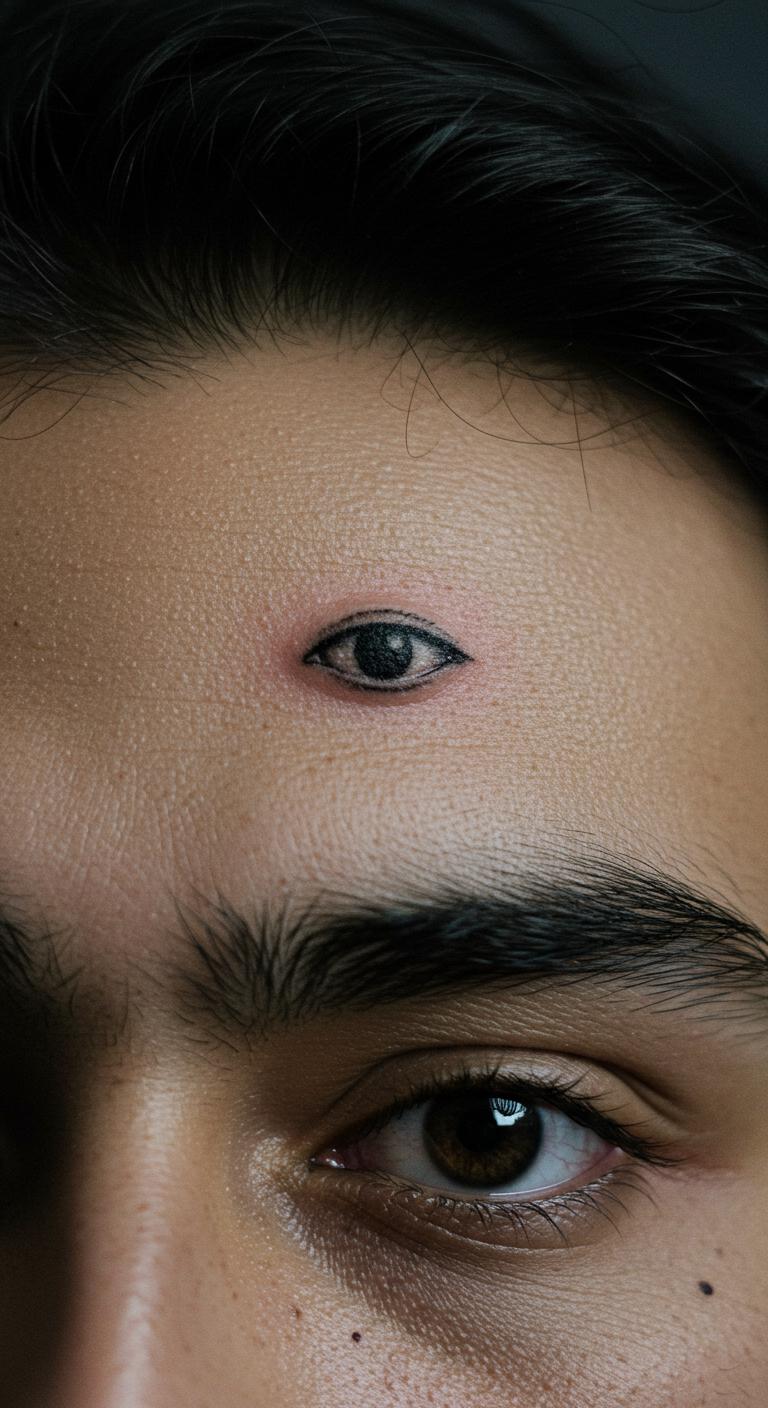
A third eye with a dot is spiritual. Sketch discreetly at home. Position on your forehead carefully. Opt for tiny ink. Use dot markers for testing. Budget tip: Seek spiritual artists for $40. Break it: just one dot. Healing means gentle touching. This adds depth affordably. Keep it minimal.
Dotted Eye Pattern
Make an eye from dots for texture. Draw dot grids on paper. Put on your calf for coverage. Use dots for low cost. Try with dot pens. Budget tip: Find dotwork sessions at $50. Steps: place dots carefully. Care with dot-specific lotions. This creates interest easily. Vary dot density.
Line Art Gaze
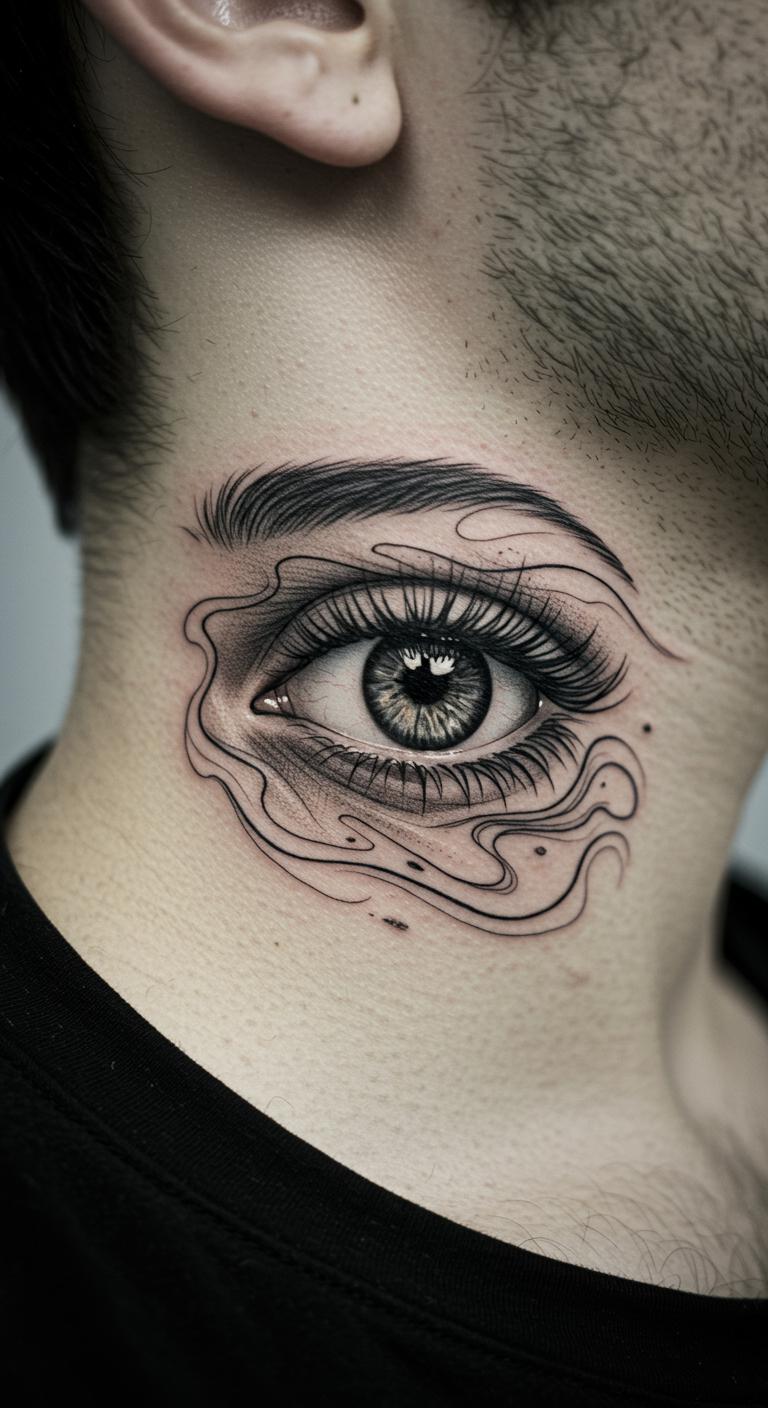
Use lines for a gazing eye effect. Sketch lines flowing at home. Try your neck for impact. Stick to black for budget. Test with line templates. Budget tip: Look for line specialists under $60. Short: follow the gaze. Healing with neck covers. This draws attention simply. Adjust line flow.
Shaded Single Eye
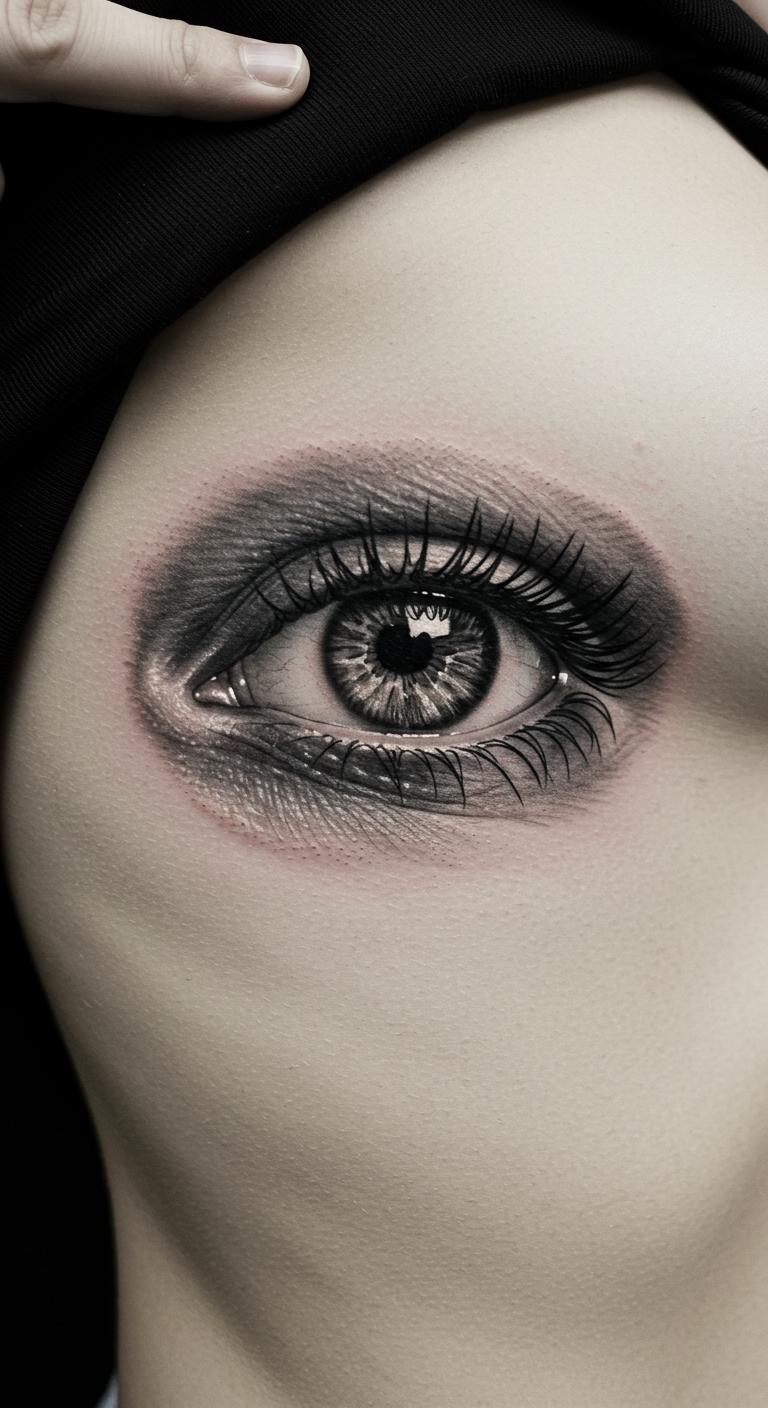
Add light shading to an eye for depth. Draw shaded areas on paper. Place on your rib for privacy. Use gray shades cheaply. Practice shading with pencils. Budget tip: Find shading deals at $70. Break it: shade gently. Care with rib protection. This adds dimension affordably. Customize shading levels.
Double Eye Symmetry
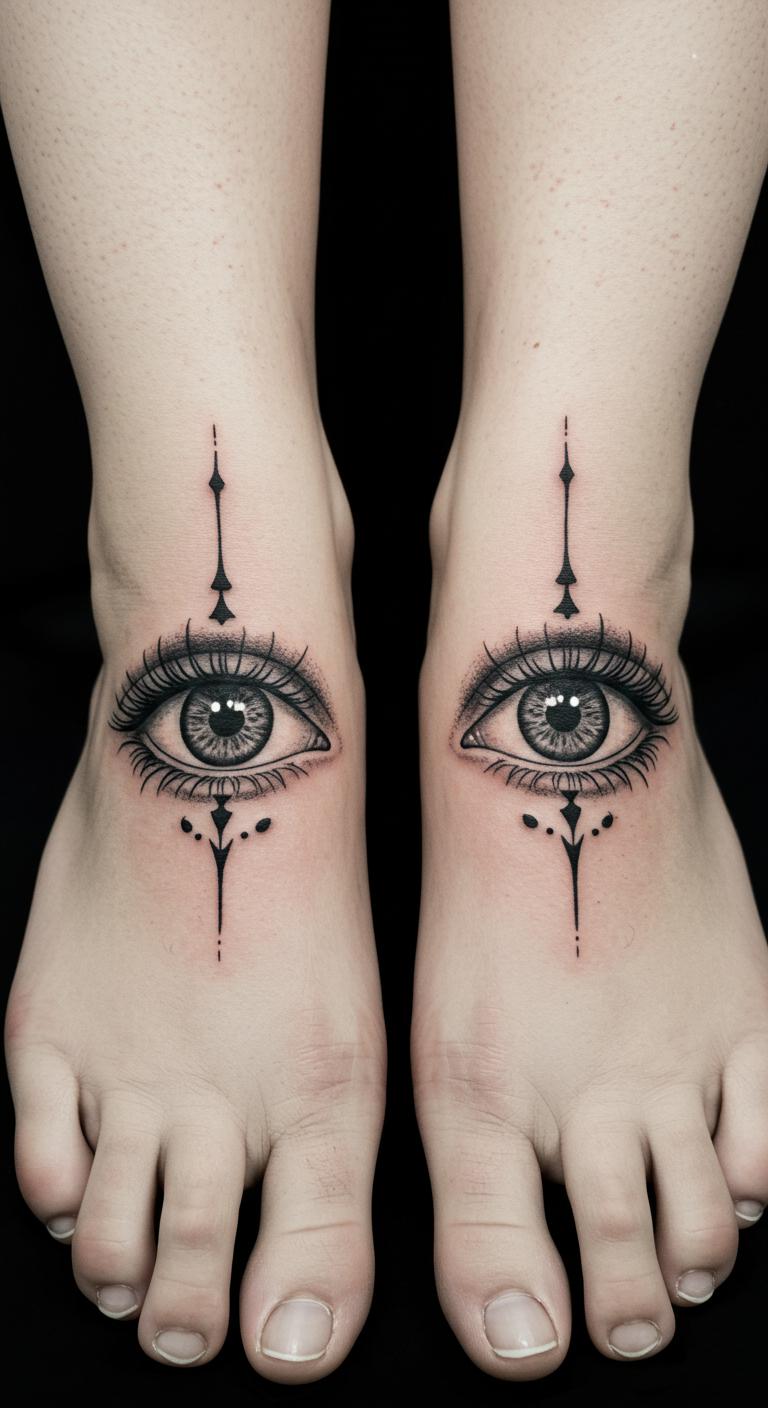
Go for two eyes in symmetry. Sketch both sides equally. Put on ankles for balance. Use matching ink. Test with paired stickers. Budget tip: Look for symmetrical offers at $80. Steps: mirror the design. Healing with even care. This creates harmony easily. Vary eye size slightly.
Eye in Circle Frame
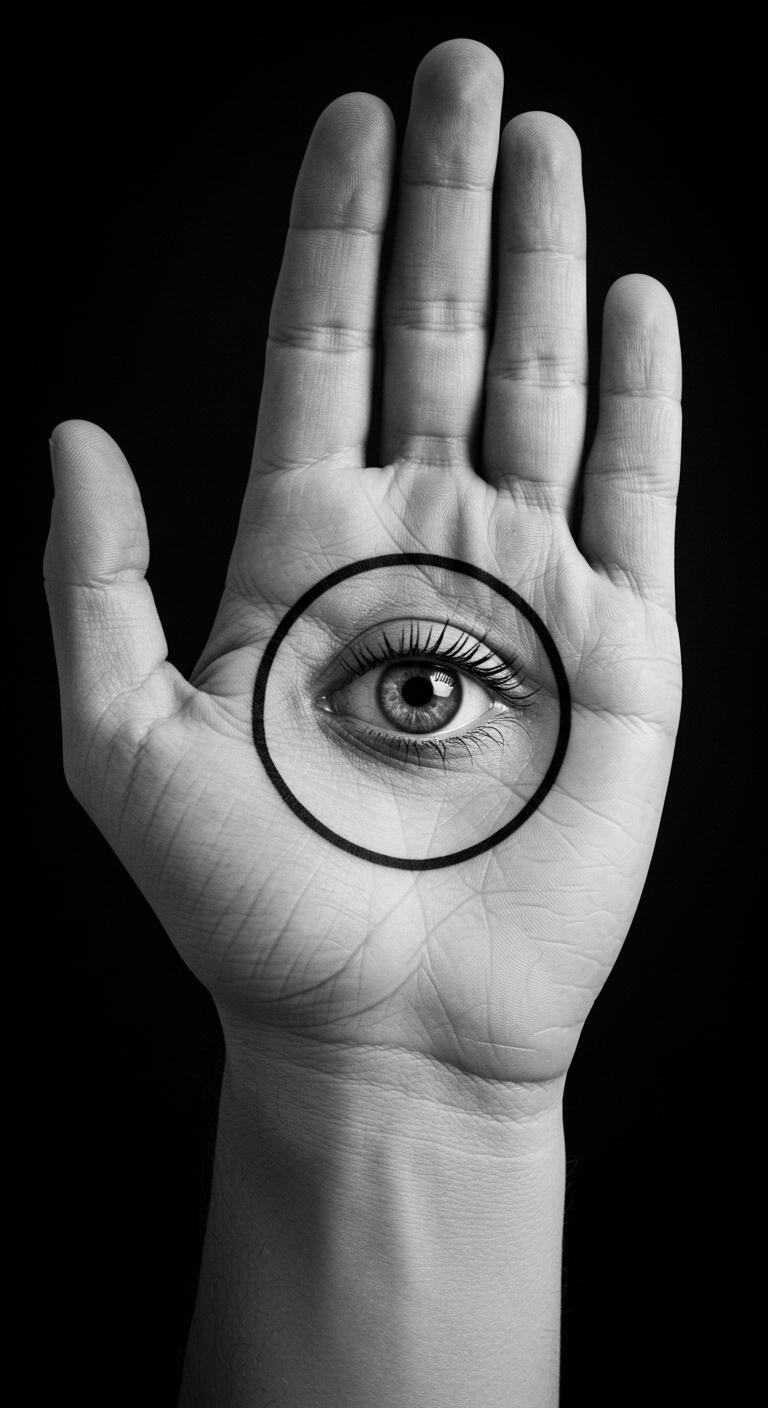
Frame an eye in a circle for focus. Draw the circle first at home. Try your palm for utility. Keep it basic black. Use circle tools for testing. Budget tip: Find frame artists for $50. Short: encircle the eye. Care with hand washing. This centers the design. Personalize the circle.
Abstract Swirl Gaze
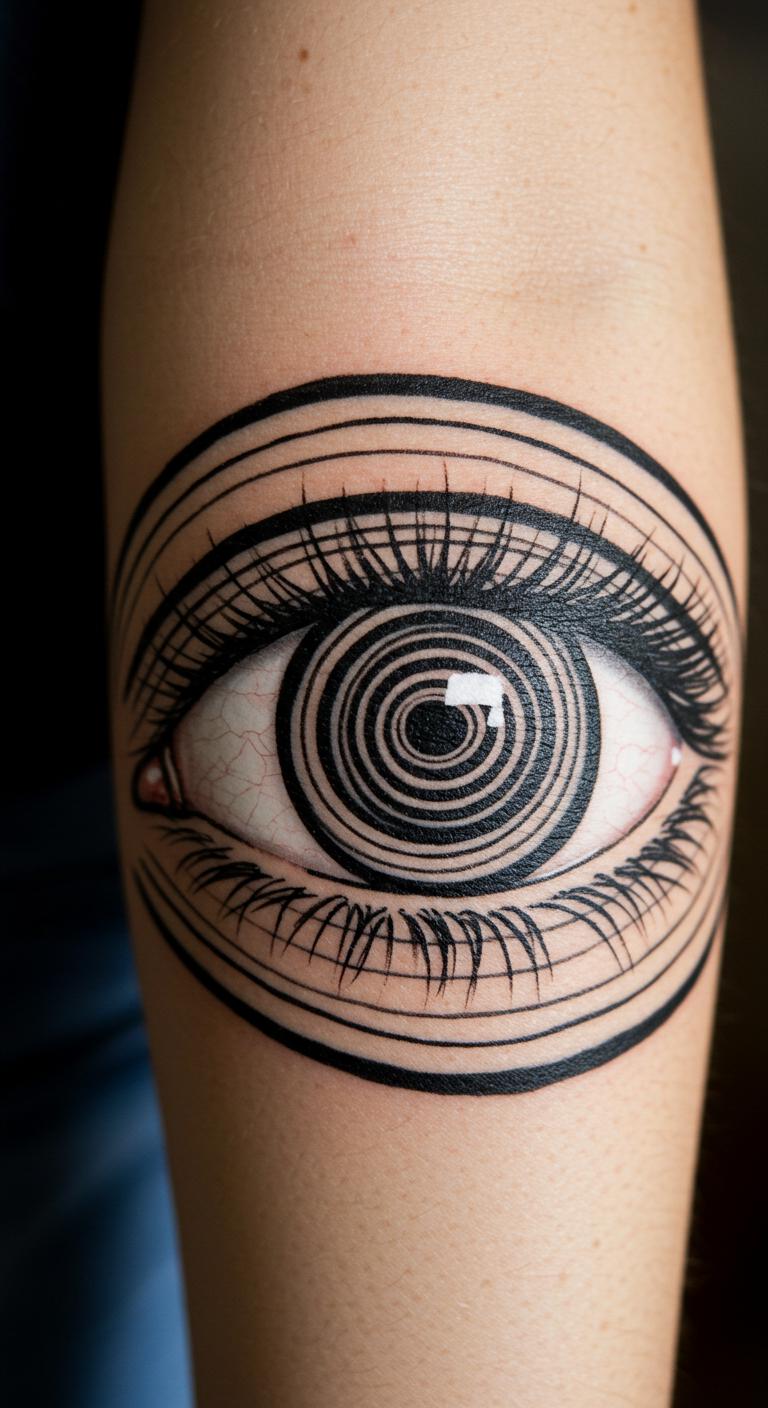
Twist swirls into an eye for abstraction. Sketch swirls creatively. Place on your elbow for flexibility. Use simple lines. Test with swirl patterns. Budget tip: Search for abstract deals under $60. Steps: twist around the eye. Healing with elbow guards. This adds motion affordably. Vary swirl complexity.
Eye with Arrow Point
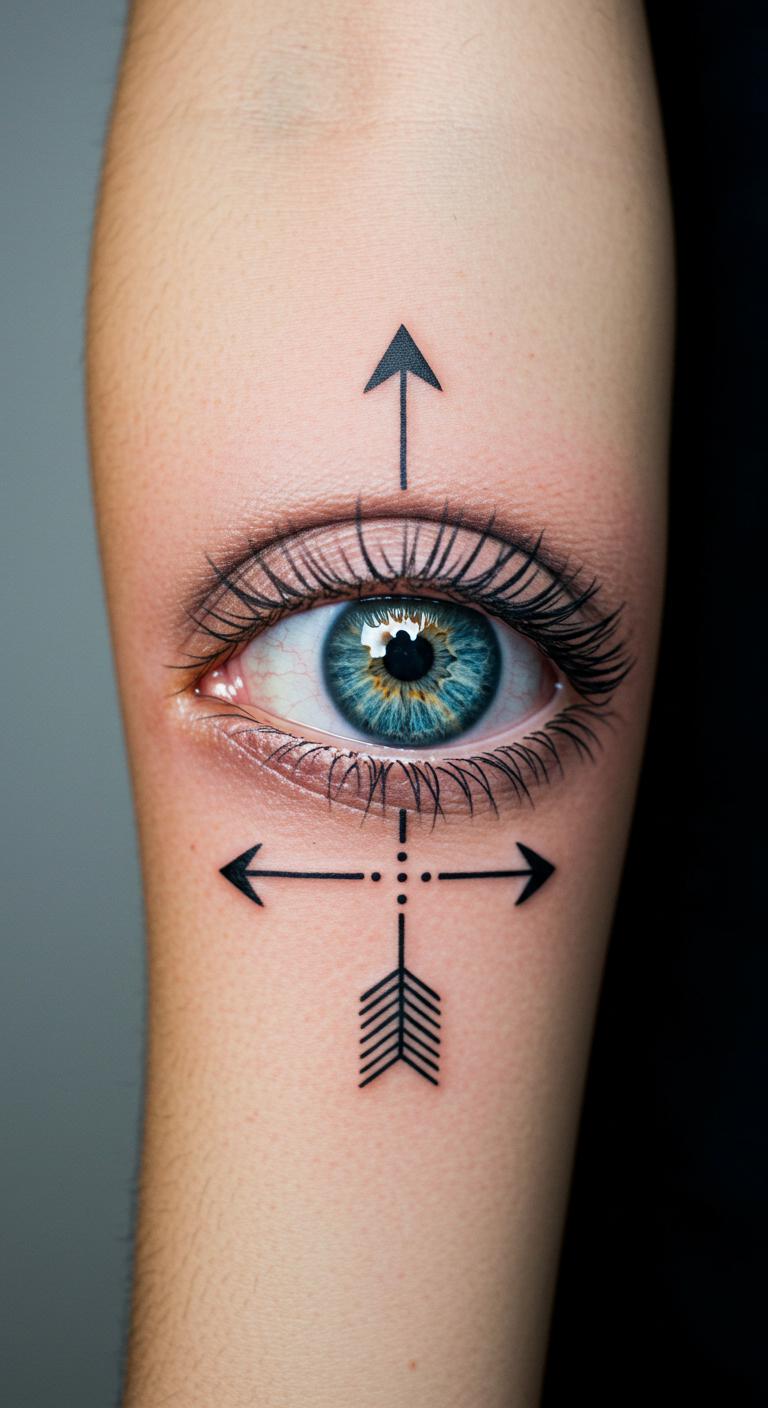
Add an arrow to an eye for direction. Draw the arrow path. Put on your forearm for guidance. Stick to black. Use arrow stickers first. Budget tip: Find arrow-themed tattoos at $70. Break it: point the arrow. Care with arm sleeves. This guides your story. Customize arrow style.
Nature Leaf Eye

Incorporate leaves around an eye for nature. Sketch leaves simply. Try your thigh for coverage. Use basic ink. Practice with leaf rubbers. Budget tip: Look for nature sets at $80. Steps: add a few leaves. Healing with natural wraps. This brings outdoors in. Vary leaf shapes.
Tech Circuit Eye

Add circuit lines to an eye for tech vibe. Draw circuits at home. Place on your back for techies. Keep it line-based. Test with circuit drawings. Budget tip: Find tech artists for $90. Short: link circuits. Care with back care. This modernizes simply. Adjust circuit patterns.
Personalized Initial Eye
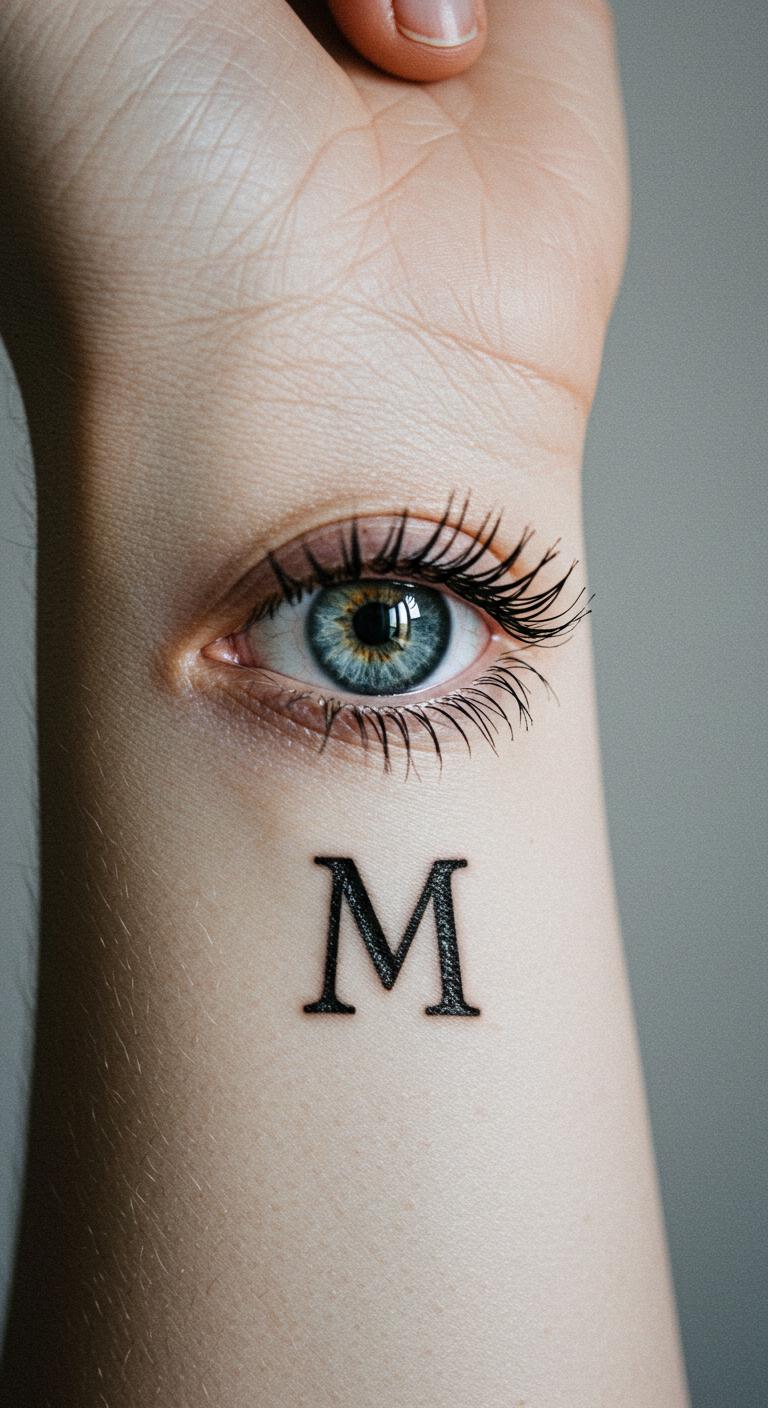
Incorporate your initial into an eye. Sketch your letter first. Put on your wrist for daily view. Use one color. Test with initial stamps. Budget tip: Look for custom options at $50. Steps: add the initial. Healing with wrist bands. This makes it yours. Vary initial font.
Minimalist eye tattoos provide endless ways to express yourself with simplicity and meaning. Each idea here offers practical steps to get started, from sketching at home to finding affordable artists. Try one today and see how it enhances your style—your perfect design is just an idea away.